


Do you have any hobbies in your free time? Do you know about diamond painting? DIY diamond paintings are made of environmentally friendly resin materials and high-quality manufacturing processes. It's non-toxic, odorless and colorfast. It can relieve stress and enhance emotions. It is a very suitable handicraft to be completed with family and friends in leisure time. This article will introduce how to do diamond paintings, hoping to arouse your interest in diamond paintings and become a diamond painting enthusiast.
Necessary materials for diamond painting
Before you start making diamond paintings, you must first prepare the materials for making diamond paintings. Diamond painting materials can be purchased online or at brick-and-mortar store. If you don’t know how to choose and how to buy diamond painting kits, you can read this article : 3 ways to help you figure out where to buy diamond painting kits.
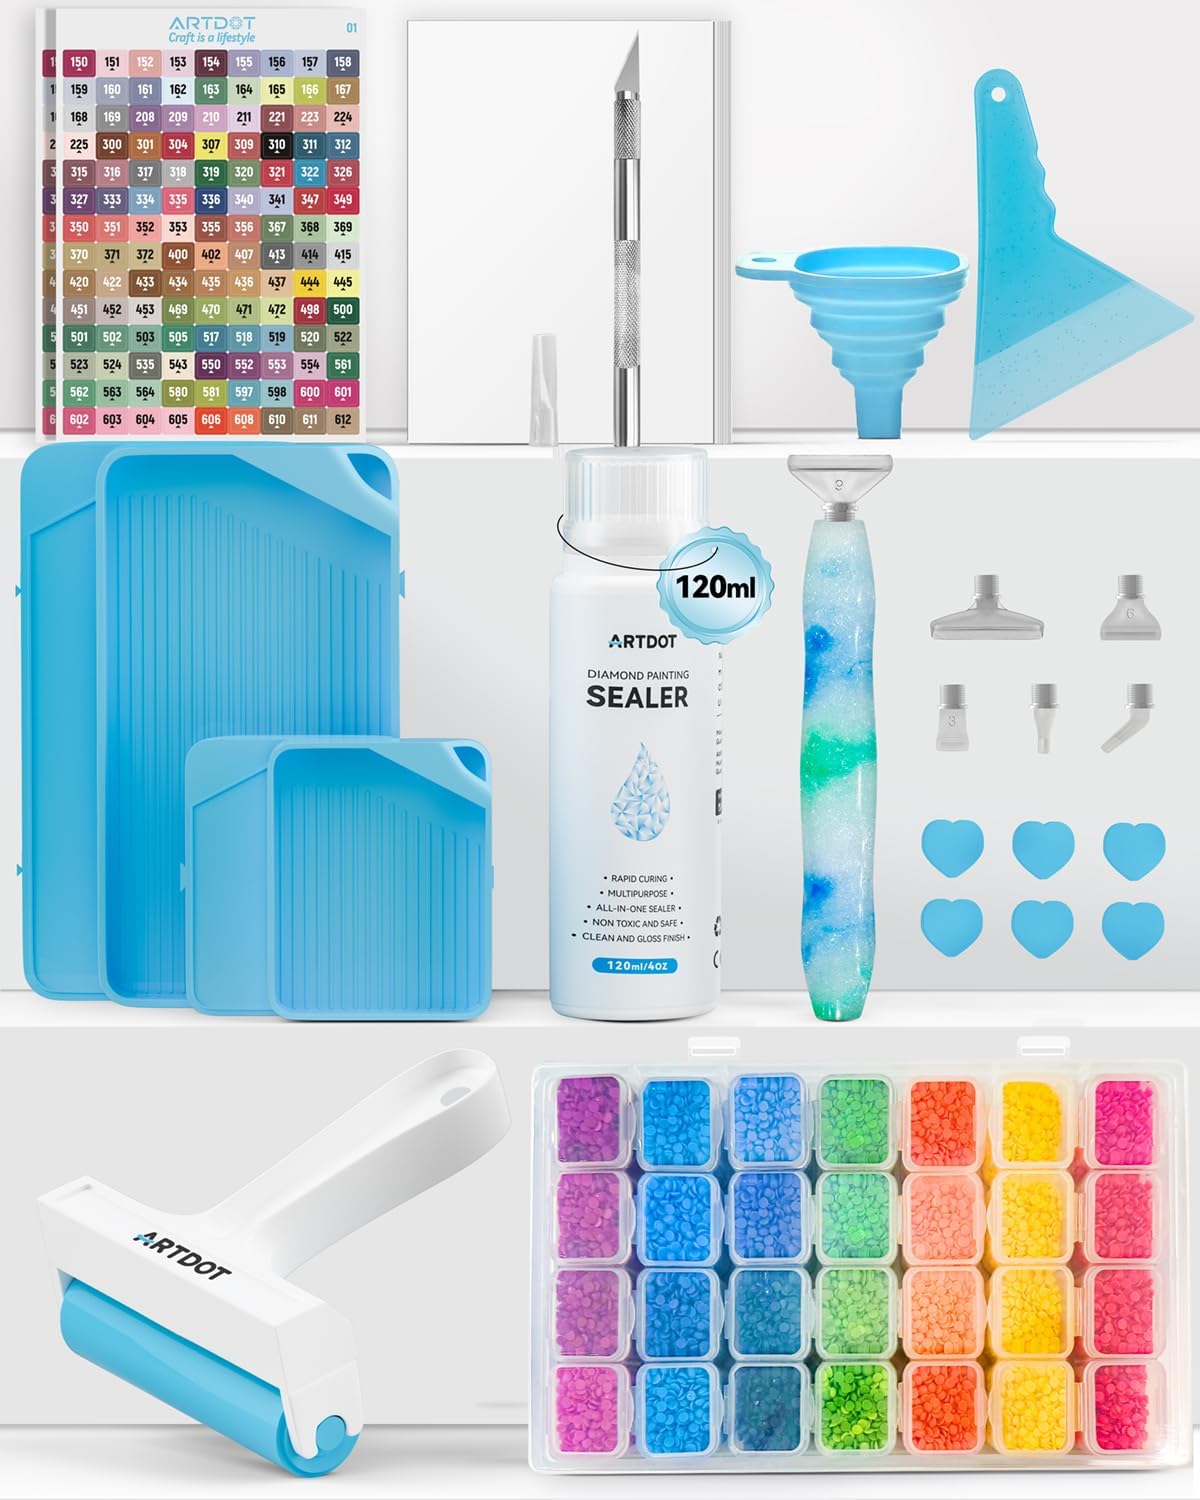
Although each brand is slightly different, most kit materials include: canvas, dot pen, bead pack, wax, tray, color card, washi tape, and tweezers. Choose a diamond painting pattern you like, take out the corresponding tools and materials, and then tidy up the table and prepare to complete your work here.
Diamond painting production steps
Step 1:
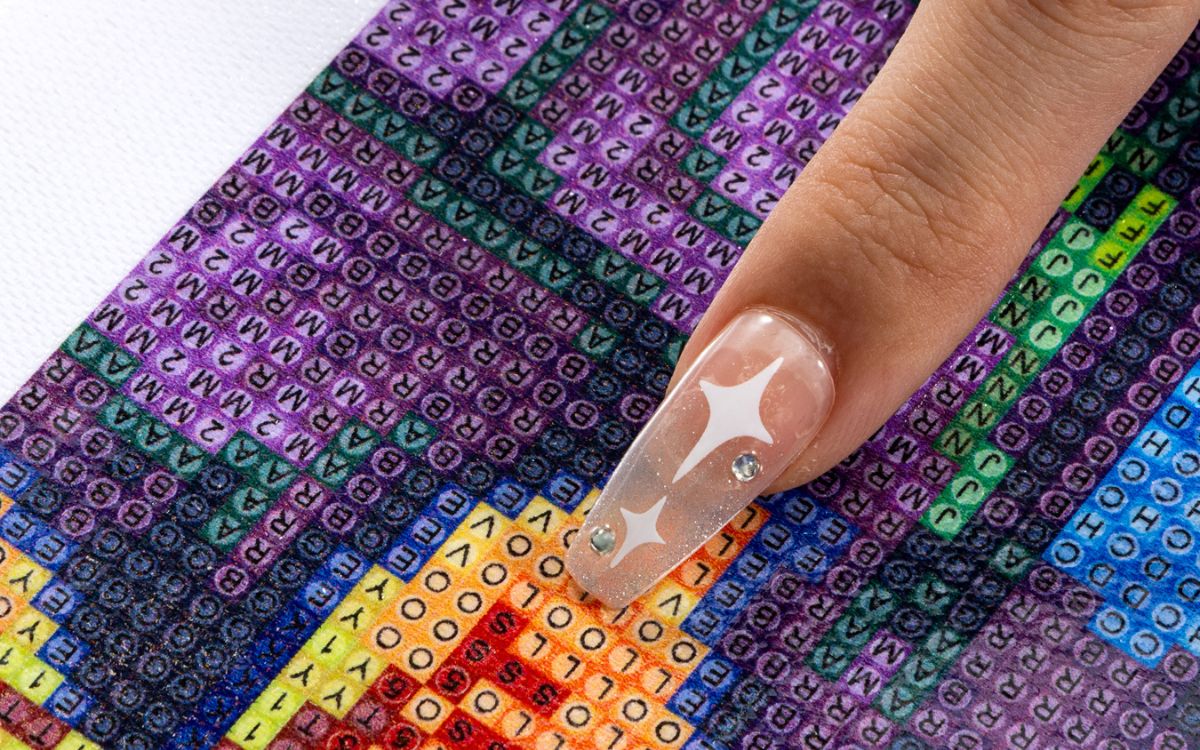
Look at the canvas. The diamond canvas is printed with many small squares, like cross stitch, with different colors and symbols. Each letter corresponds to a color of diamond beads. Select the area you want to draw first, tear off the plastic paper in this part, and determine the letters of the beads required for this part.
Step 2:
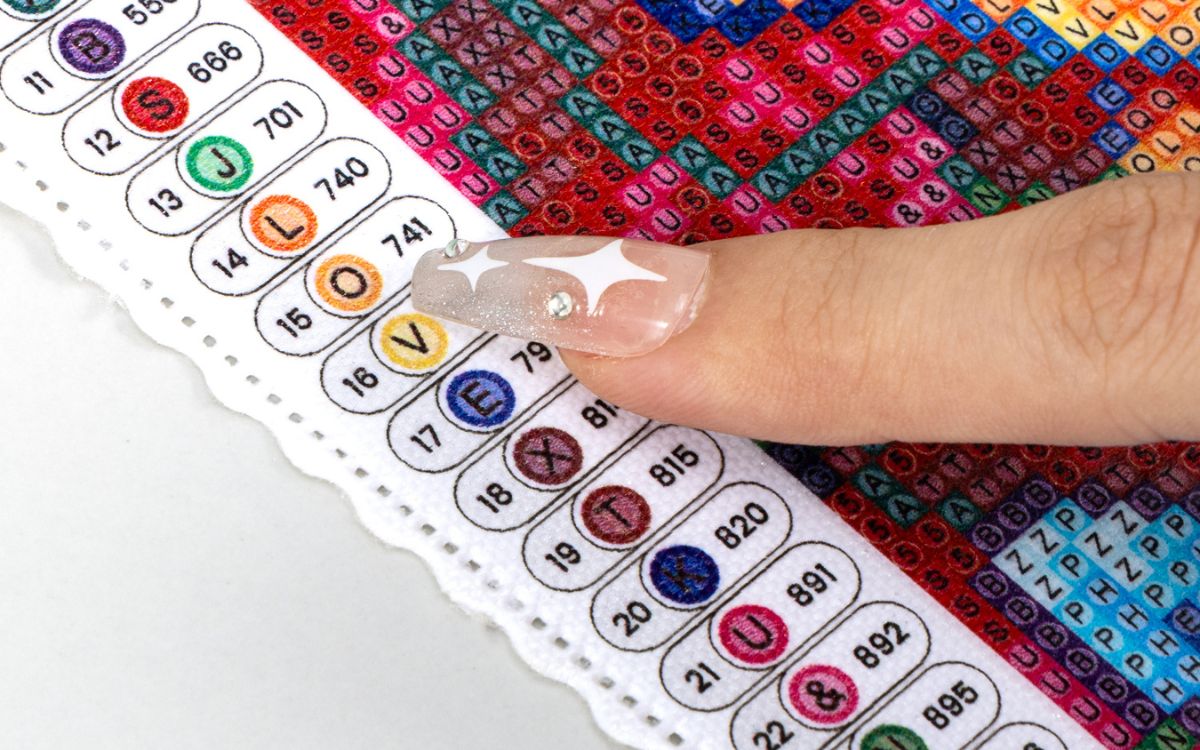
Look at the symbol chart, usually the form is printed on the side of the canvas. Each symbol corresponds to a specific color of diamond beads. The numbers and letters will be listed on the table. Find the numerical code of the diamond beads you need.
Step 3:
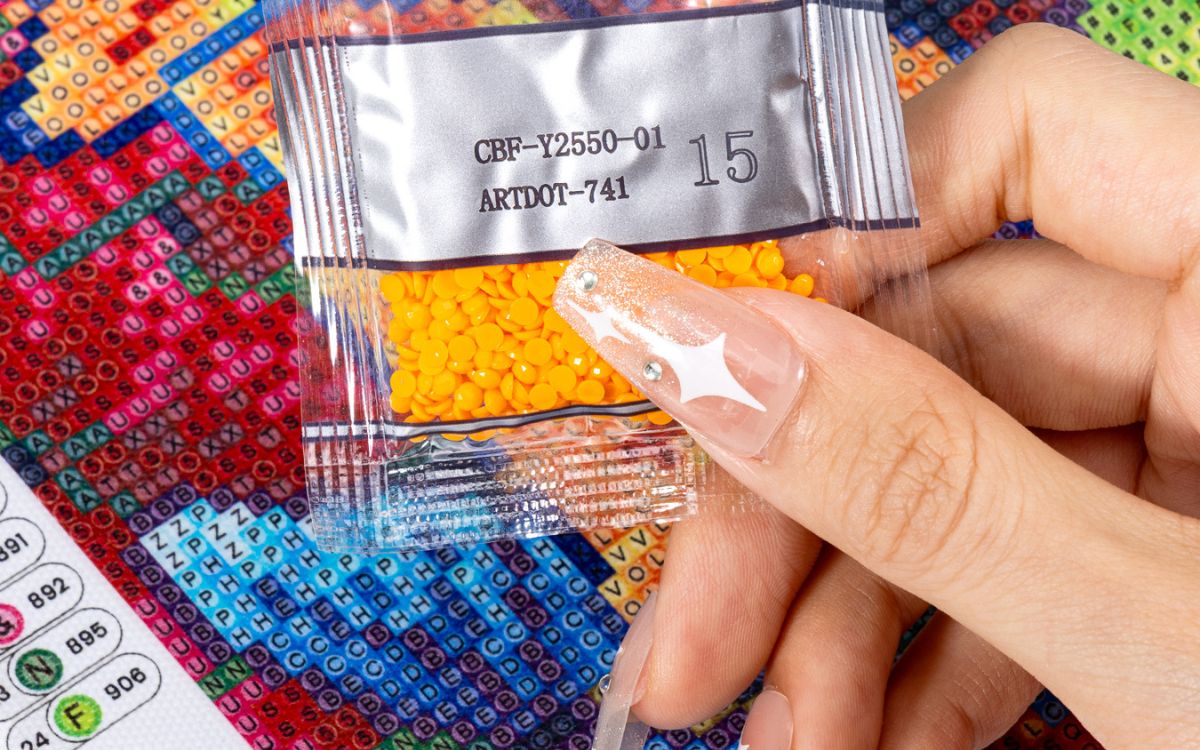
Find the DMC color number of the diamond beads from the chart, compare the symbol on the canvas with the diagram, and find the bag with the same symbol.
Step 4:
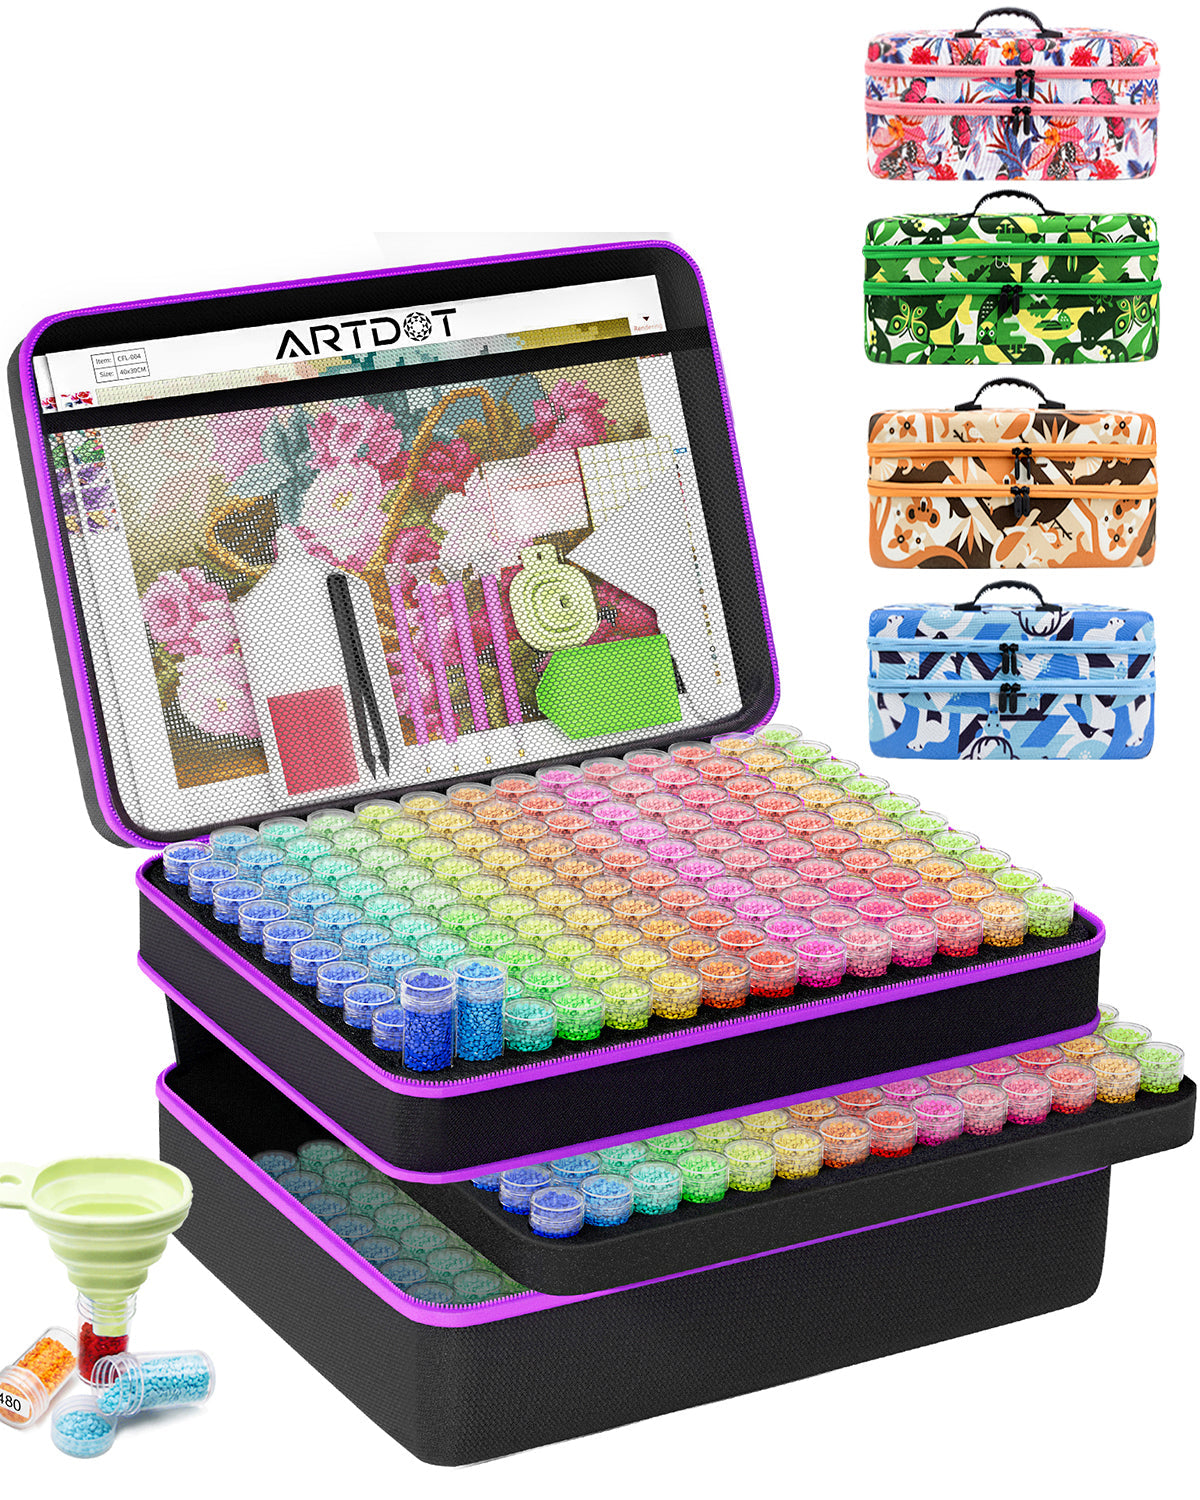
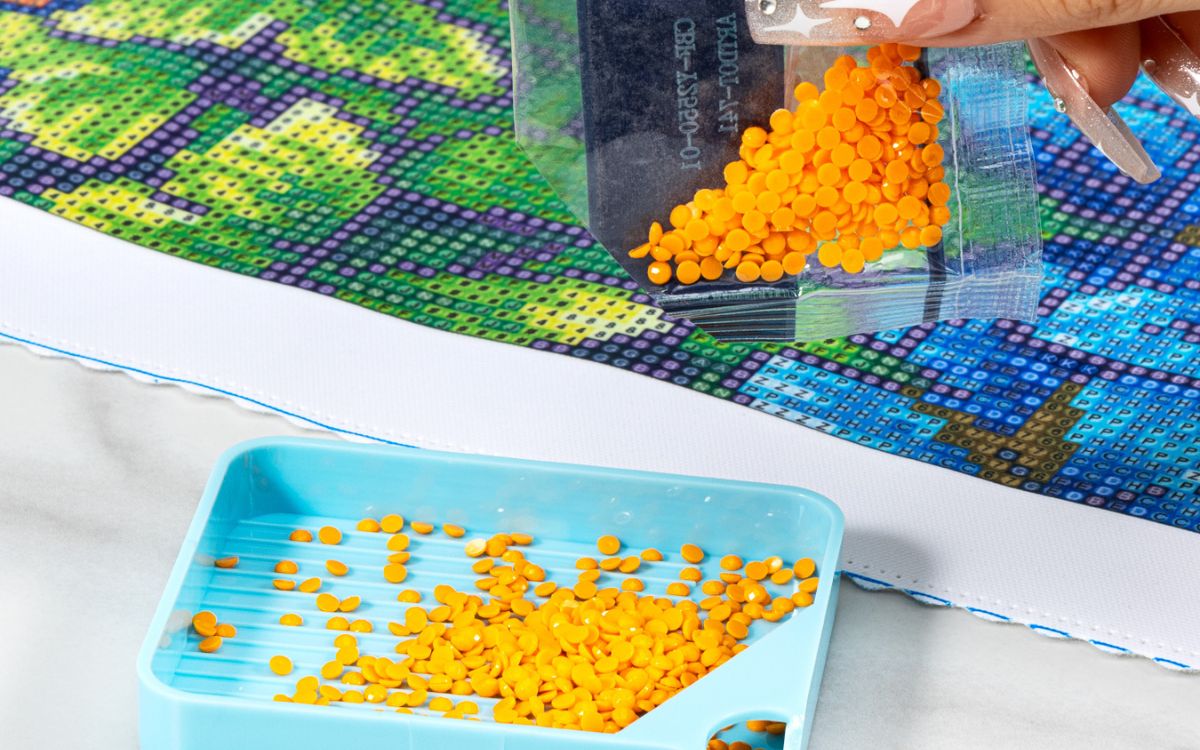
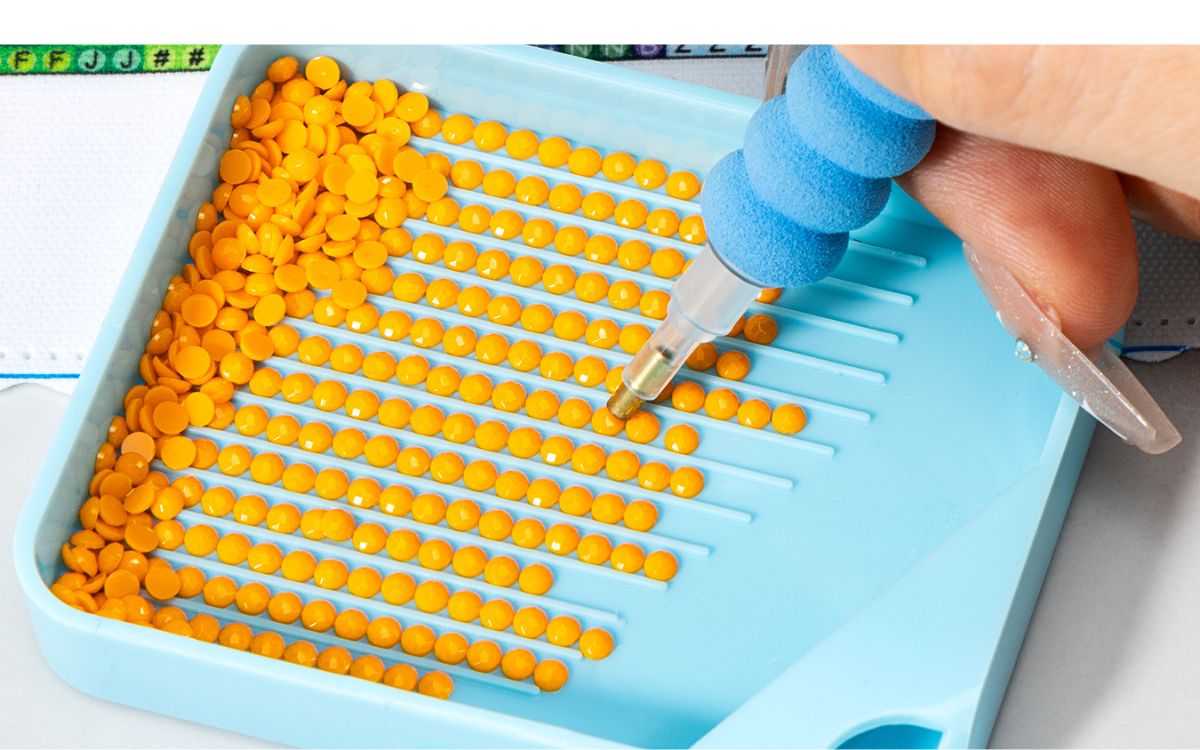
Pour the diamond beads of the corresponding color needed in the painting into the tray. If you need different colors, it is best to put each color of diamond beads in a different tray, so that they are easier to access. Trays like this one from Artdot are specially made. If you have multiple Ardot trays, you can inlay them together and place them side by side, which is super convenient.
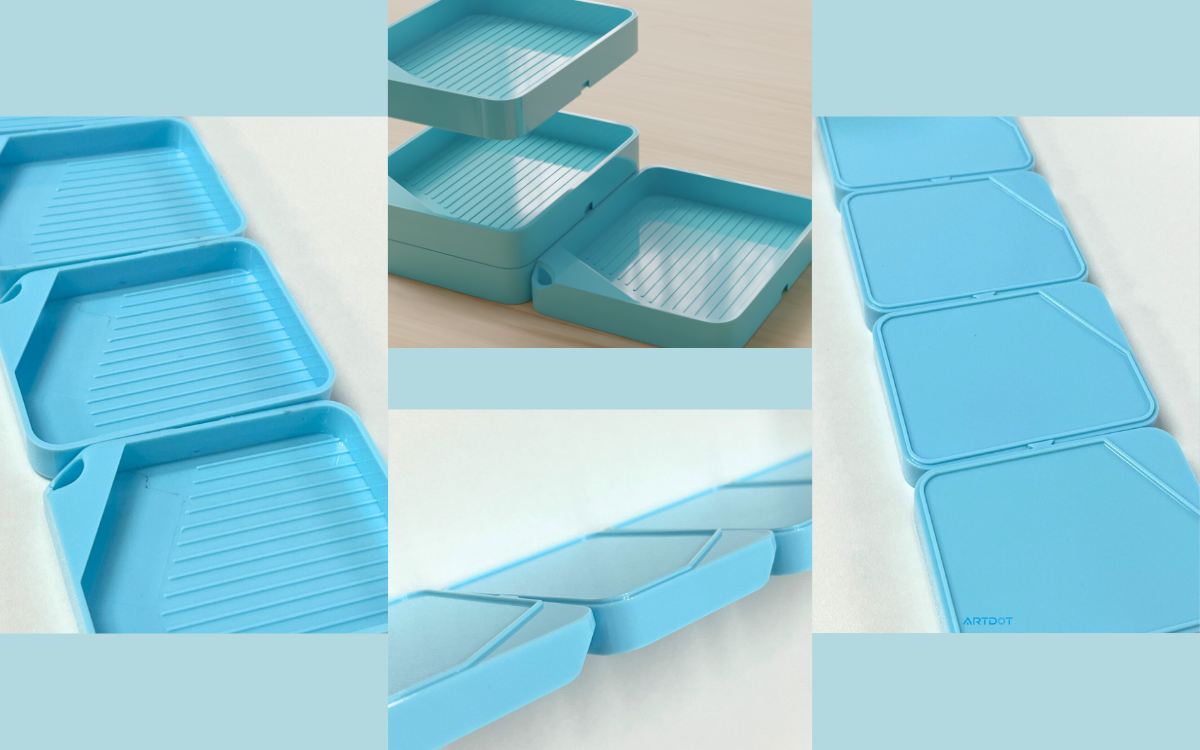
Artdot‘s multifunctional tray
Step 5:
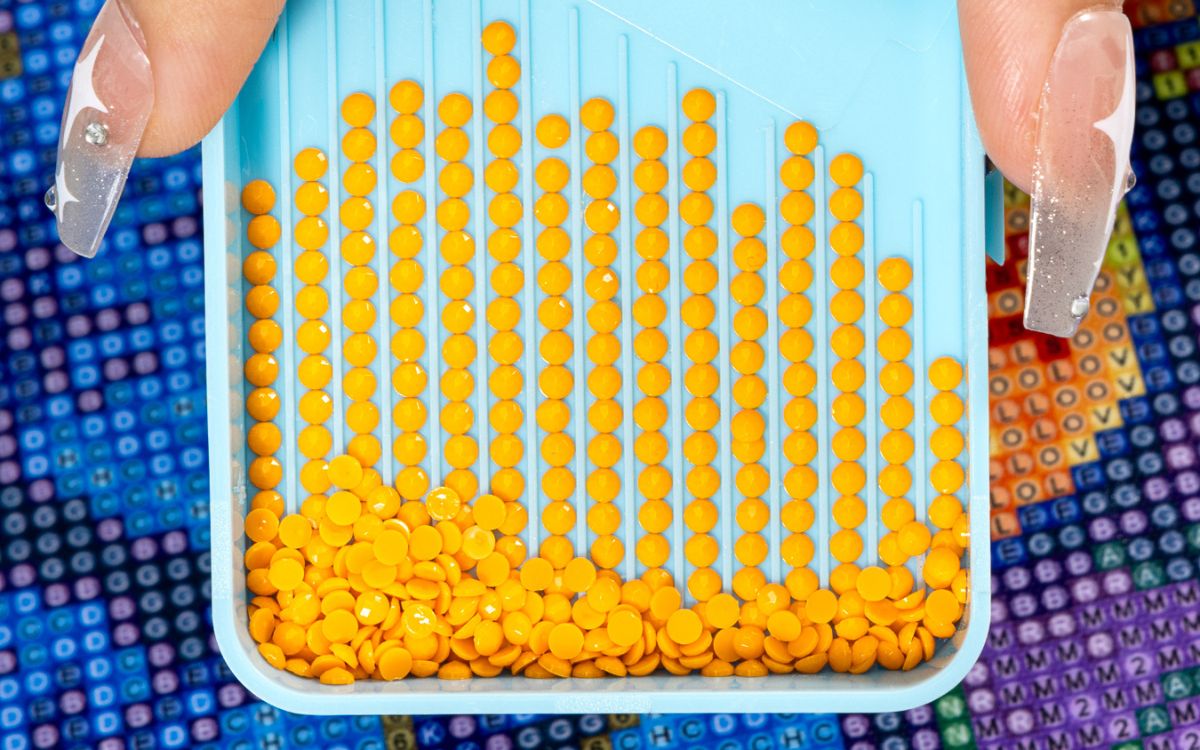
Gently shake the tray to distribute the diamond particles evenly and align them in the correct direction.
Step 6:
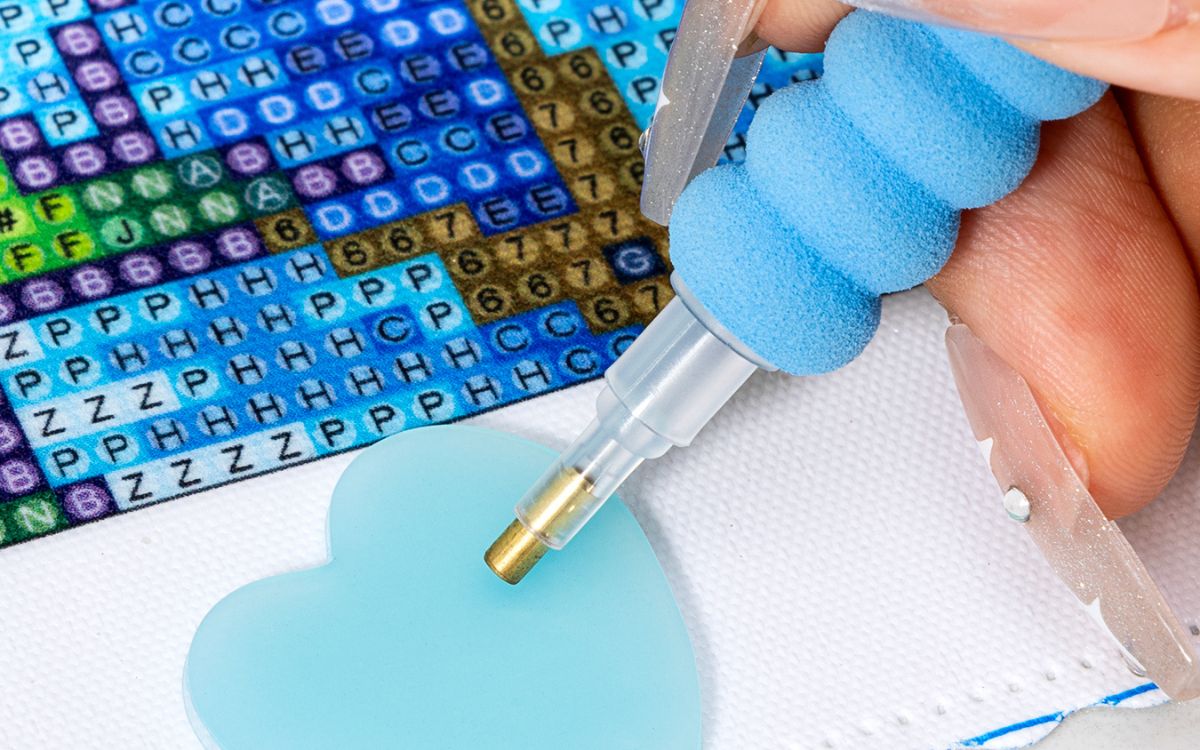
Dip a dotting pen into the wax included in the set. Open the wax package and poke a small amount of wax with the tip of the pen. Waxed nibs are more likely to pick up diamond particles. The dotting pen can replace 3, 6, and 9 drill bits and can affix multiple diamond beads at one time.
Step 7:
Use a pen to stick the diamond beads and gently touch the angular side with the tip of the pen. When you take the pen away from the diamond box, the diamond particles stick to the nib.
Step 8:
Gently press the pen tip onto the corresponding grid on the canvas. Because the canvas is sticky, when you remove the pen tip, the diamond beads stick to the canvas.
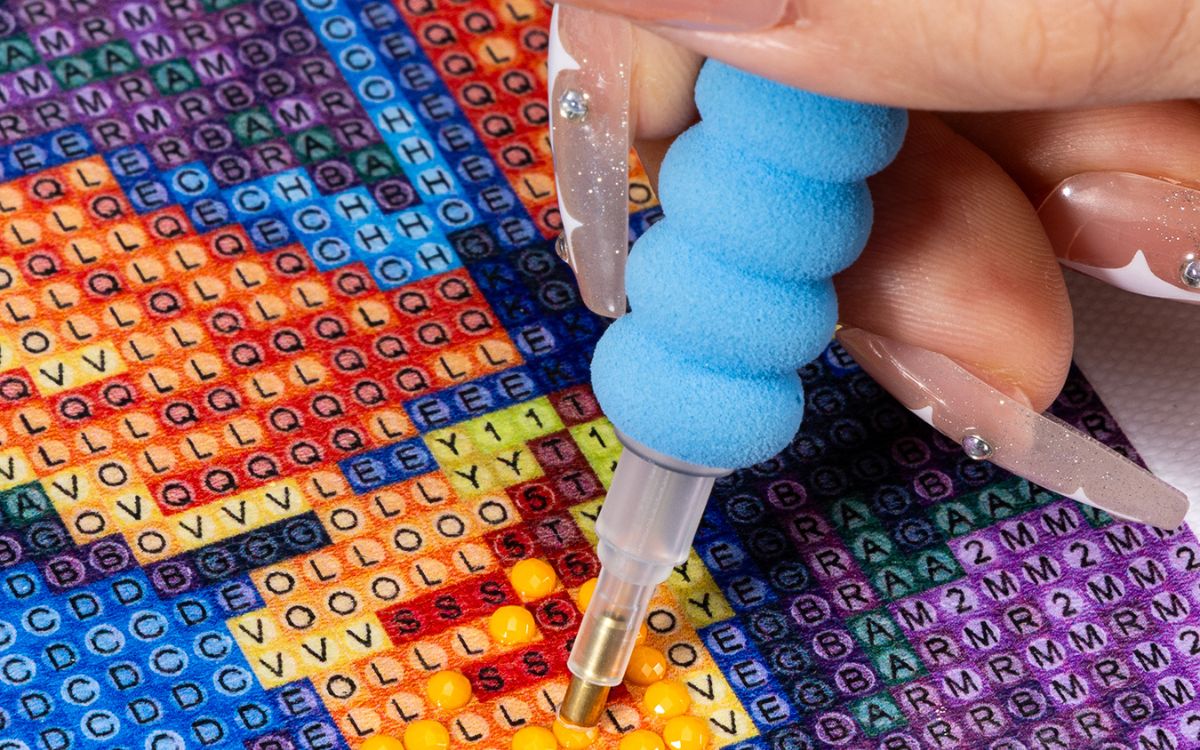
Step 9:
Repeat this process by filling in the remaining squares until the diamond painting is complete. Once one color is full, stick another. When needed, dip the tip of the pen into the glue again. When the squares represented by the same number are filled, continue to the next color. This way is faster and more organized.
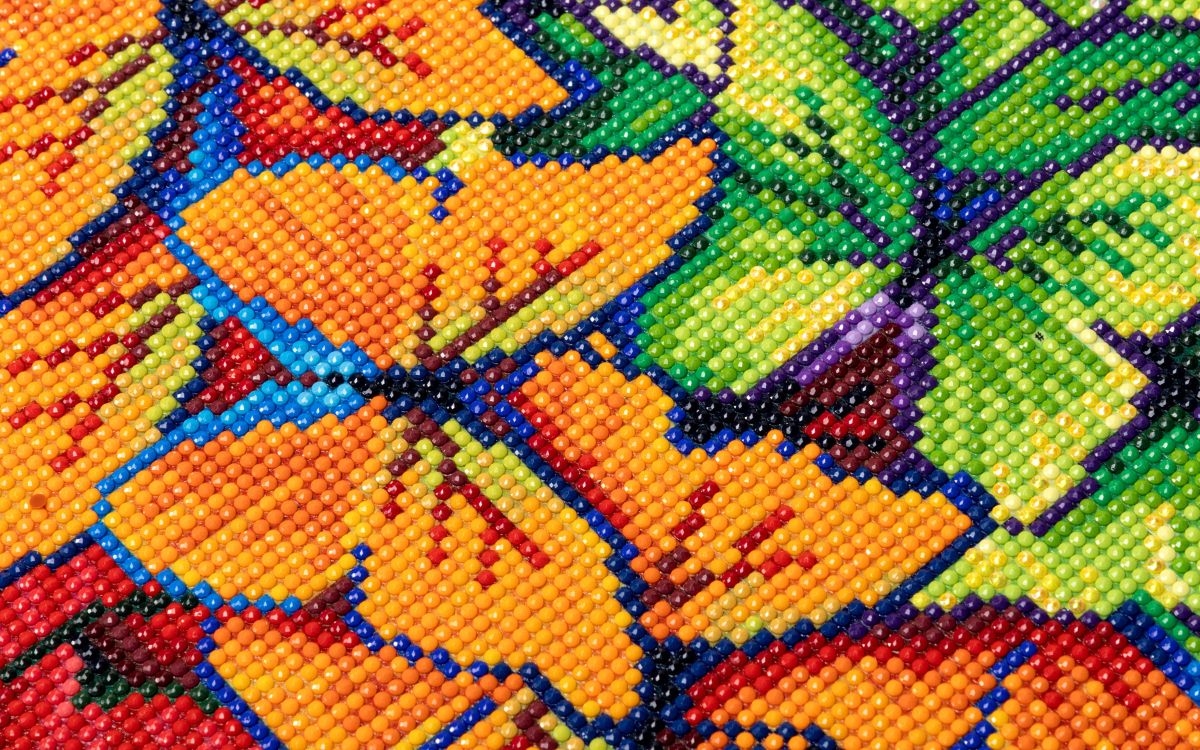
In this way, the butterfly diamond painting kits above is completed. Regarding preserving diamond paintings, you can re-cover the canvas with the original plastic paper. If you've thrown away plastic paper, replace it with regular paper.
Then, use a rolling pin or glass jar to gently roll it back and forth across the canvas. This step is to tighten and fix the loose diamond particles. You can also press the canvas gently with your hands. Then put a heavy object on the canvas overnight to make the diamond beads and the canvas stick more tightly. Finally you can save the painting in your own way.
Precautions
- Tear off the plastic paper as large as you need to paste it on. This will prevent the canvas from being stained with dust or debris and losing its stickiness.
- Stick it according to the serial number on the edge of the canvas, and be sure not to get the wrong diamond beads.
- Complete your diamond painting on a clean countertop to prevent creasing and staining the canvas.
- It is best not to press too hard at the beginning, but to stick gently. If the diamond beads can still move if they are attached crookedly, then press them down hard and the diamond beads will stick firmly.
- In order to protect the diamond particles and the exposed canvas, you'd better cover the plastic paper back every time you take a break, or use diamond painting release paper to separate the canvas and stick it again.
- To prevent the wax from drying out, wrap the dot pen and wax in plastic wrap while resting.
- To clean, clean the canvas by gently wiping it with a cold, damp cloth.
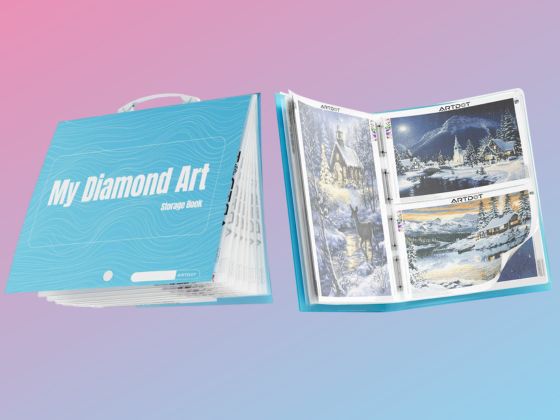
- After finishing, press it with a book or other heavy object. If you don't want to frame it for the time being, you can buy a Artdot's Diamond Art Folder Book to save the completed work.
- Diamond paintings cannot be washed, so don't get them dirty.
After mastering how to do diamond paintings, you are already an excellent diamond painting beginner. Go and try these methods to complete your diamond painting.