


In recent years, a captivating art form has taken the crafting and artistic communities by storm, beautiful enthusiasts with its mesmerizing sparkle and therapeutic benefits. Diamond painting Kit originated from the craft of mosaics and has evolved into a modern artistic pursuit. It involves placing tiny resin "diamonds" onto an adhesive canvas, creating a shimmering image.
The repetitive motions, the soft click as the diamonds find their place, and the gradual emergence of a vibrant image all contribute to a meditative state of mind. So, whether you are seeking a creative outlet, relaxation, or a way to adorn your living space with dazzling artwork, diamond painting offers an artistic experience that is visually stunning and emotionally fulfilling.
Follow Diamond Painting Instruction and discover the joy and tranquility of diamond painting as we guide you through this comprehensive mastery journey.
The Detailed Diamond Painting instruction
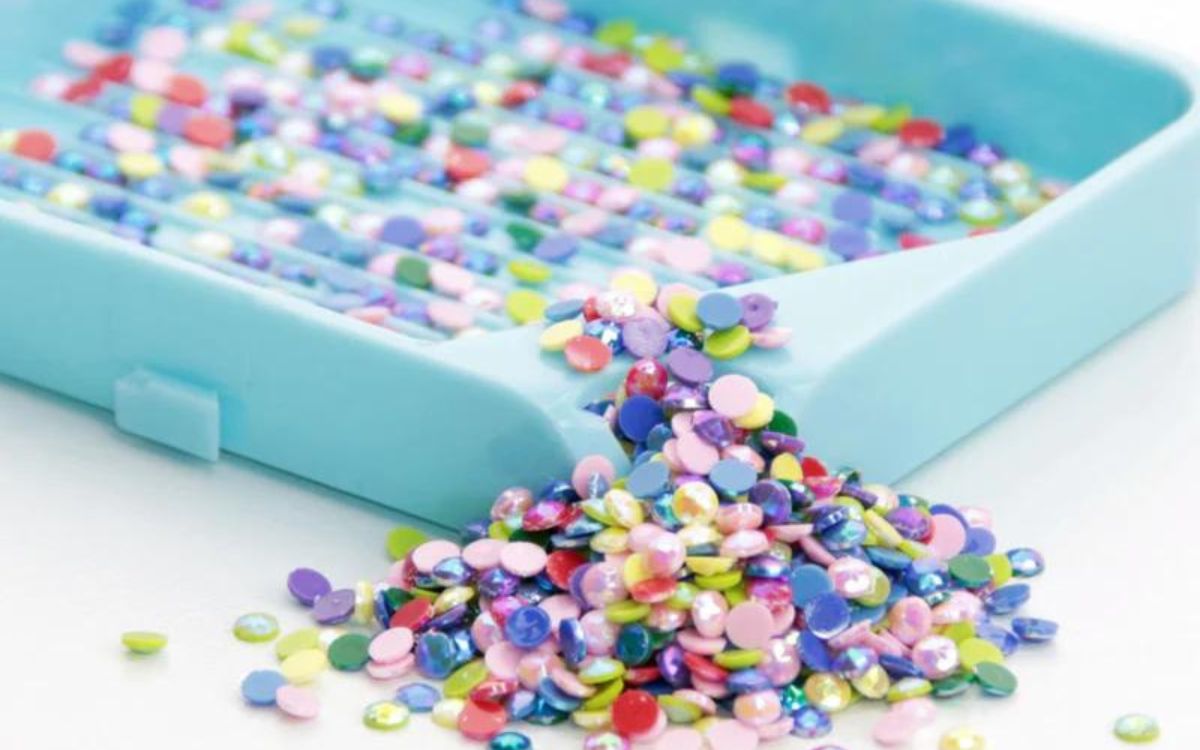
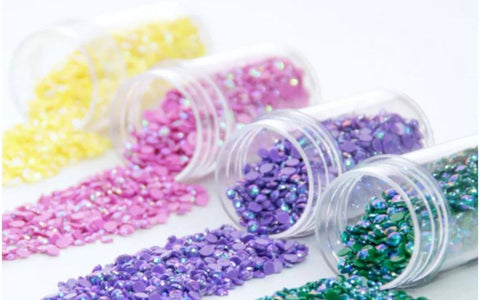
You'll need the know the diamond painting instruction and materials what they are and how to use them, when you get started with diamond painting. Generally diamond painting kits include: Canvases Drills (Diamonds), Aurora Borealis Diamond, Applicators, Trays, Wax.
Canvases: These serve as the base for your artwork, featuring a printed design with adhesive.

Applicators: These tools, often in the form of pens or styluses, help pick up and place the drills onto the canvas.
 Understanding the basics of diamond painting instruction and the materials involved sets the foundation for creating dazzling artworks. Let's delve deeper into the techniques and tips that will help you master this art form in the following sections.
Preparations before starting diamond painting
A well-prepared workspace ensures comfort, efficiency, and accuracy during the diamond painting process. It allows you to focus on the intricate details and enjoy the craft without unnecessary distractions.
Here are some tips:
Cleanliness: Clear the workspace of any clutter or debris to provide ample space for your canvas and supplies.
Lighting: Opt for natural or bright, white light to accurately see the colors and details of the canvas and drills. If your workspace is not bright, you could consider using a light pad to help with it. If you need a light pad, kindly please read Best light pad for diamond painting.
Organizing and Laying Out Supplies:
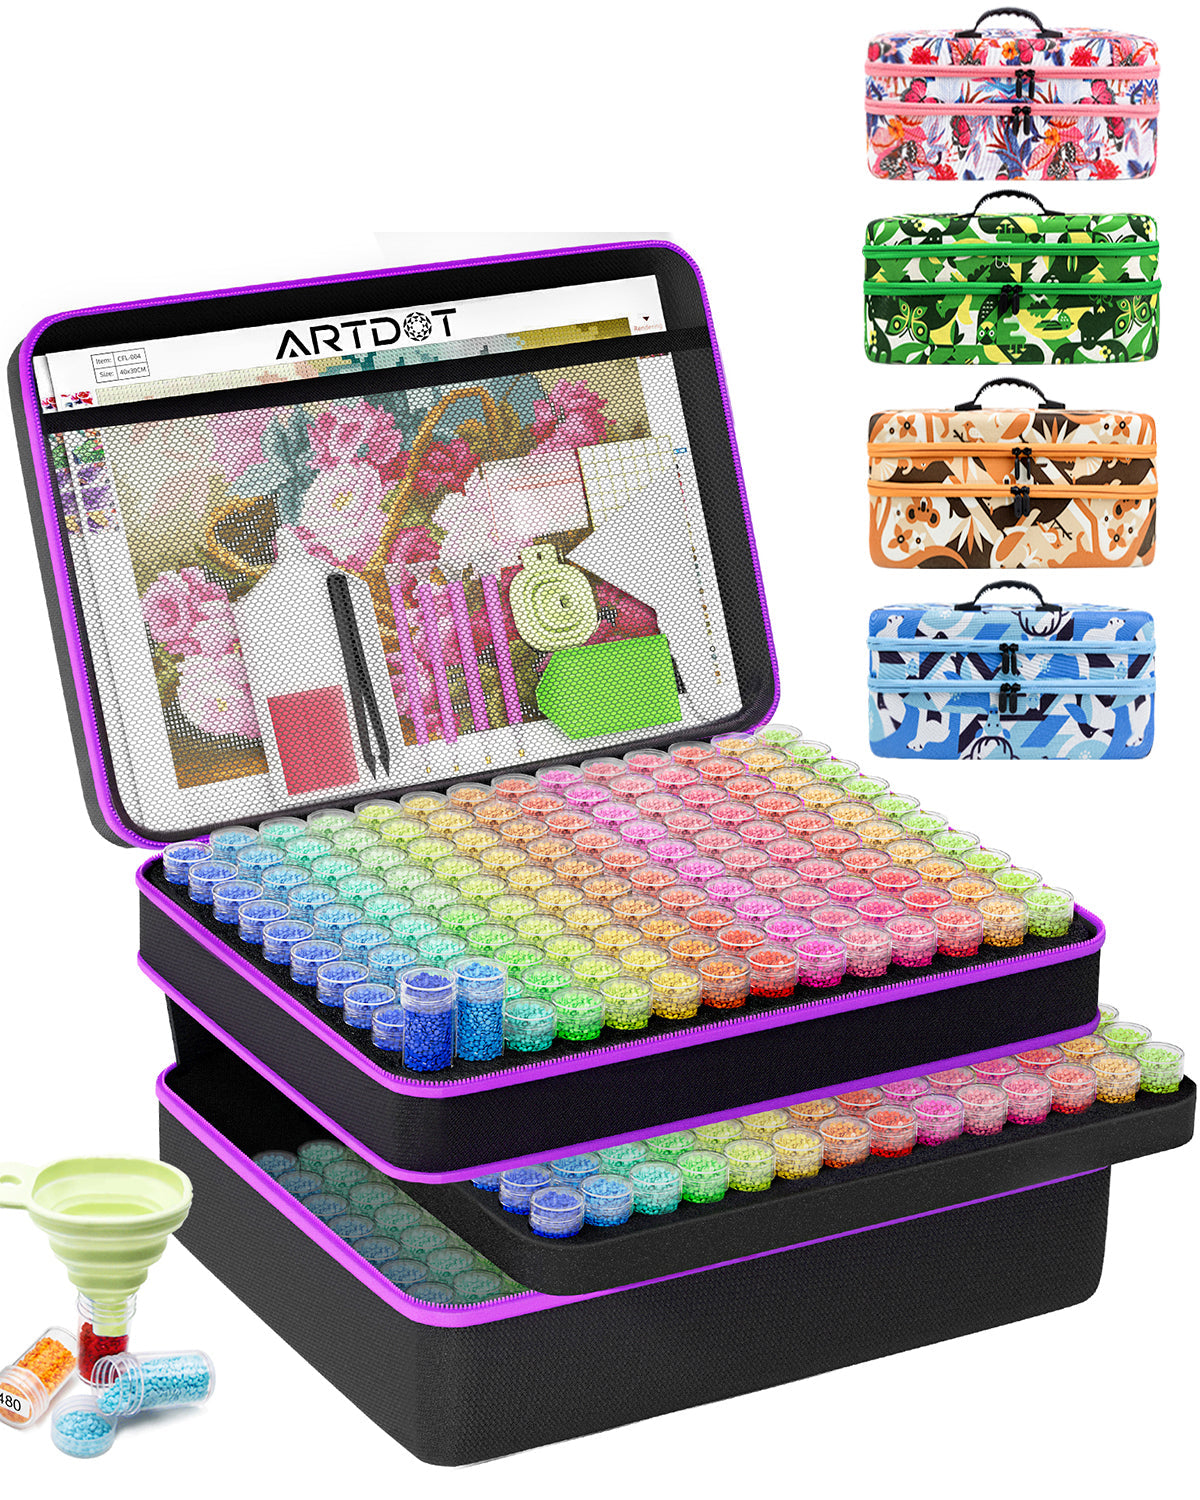
Organizing your diamond painting supplies in an orderly manner will enhance your efficiency. If you want to know more diamond painting instruction and storage containers keep your gems safe and organize, consider the following:
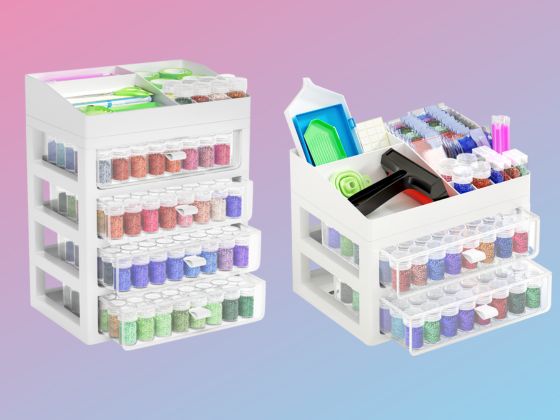
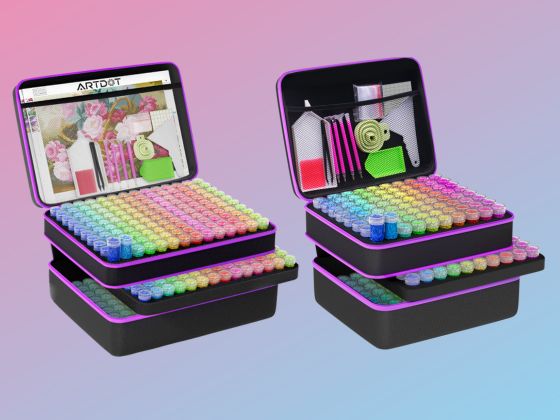
Sort the drills: Use the trays provided or separate containers to organize the drills by color. This makes it easier to locate the specific colors needed for each section of the canvas.
Label the containers: If using separate containers, label them with the corresponding color codes to avoid confusion and save time.
Arrange other tools: Keep your applicator, wax, and any additional tools within reach for quick access during the painting process.
By preparing a well-organized and properly lit workspace, you'll set yourself up for a smooth and enjoyable diamond painting journey. Now that your workspace is ready, let's dive into the techniques and skills that will help you master the art of diamond painting in the upcoming sections.
Steps on how to do diamond art
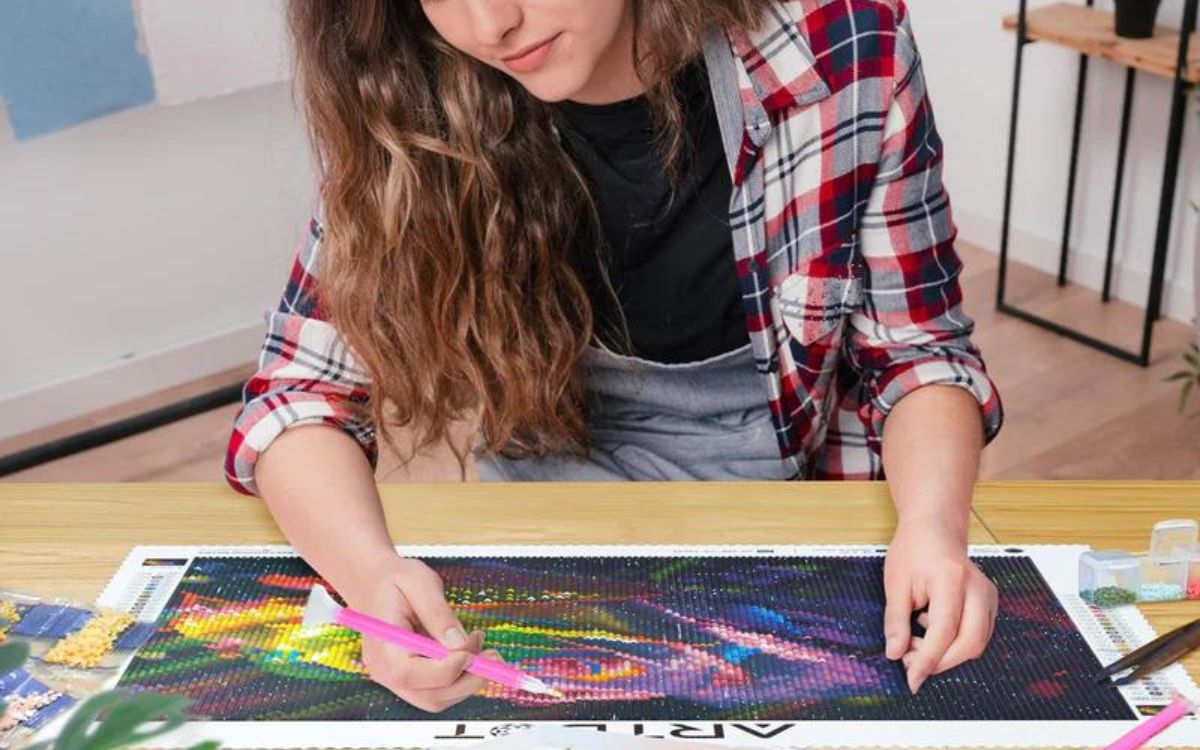
1. Select a single drill: Use the applicator to pick up one drill at a time, aligning it with the corresponding symbol or color on the canvas. Pour a small amount of drills onto the tray, and gently roll the applicator over them to pick up drills more efficiently.

2. Applying Wax: Before picking up drills, dip the applicator into the wax to create a sticky surface, allowing the drills to adhere easily.
3. Placing Drills: Use the applicator tool, often a pen or stylus, to pick up the drills.
With these simple steps, you'll be able to create diamond paintings with precision and a polished finish.
Situations encountered when doing diamond painting
As a beginner in diamond painting, you may encounter some common challenges along the way. Here are solutions and tips to overcome them:
- Challenge 1: Drills Popping Off
If you notice drills popping off the canvas, try the following solutions:
Press Firmly: Ensure you press the drills firmly onto the adhesive canvas to create a secure bond.
Wax Reapplication: If the drills aren't sticking well, reapply wax to the applicator for better adherence.
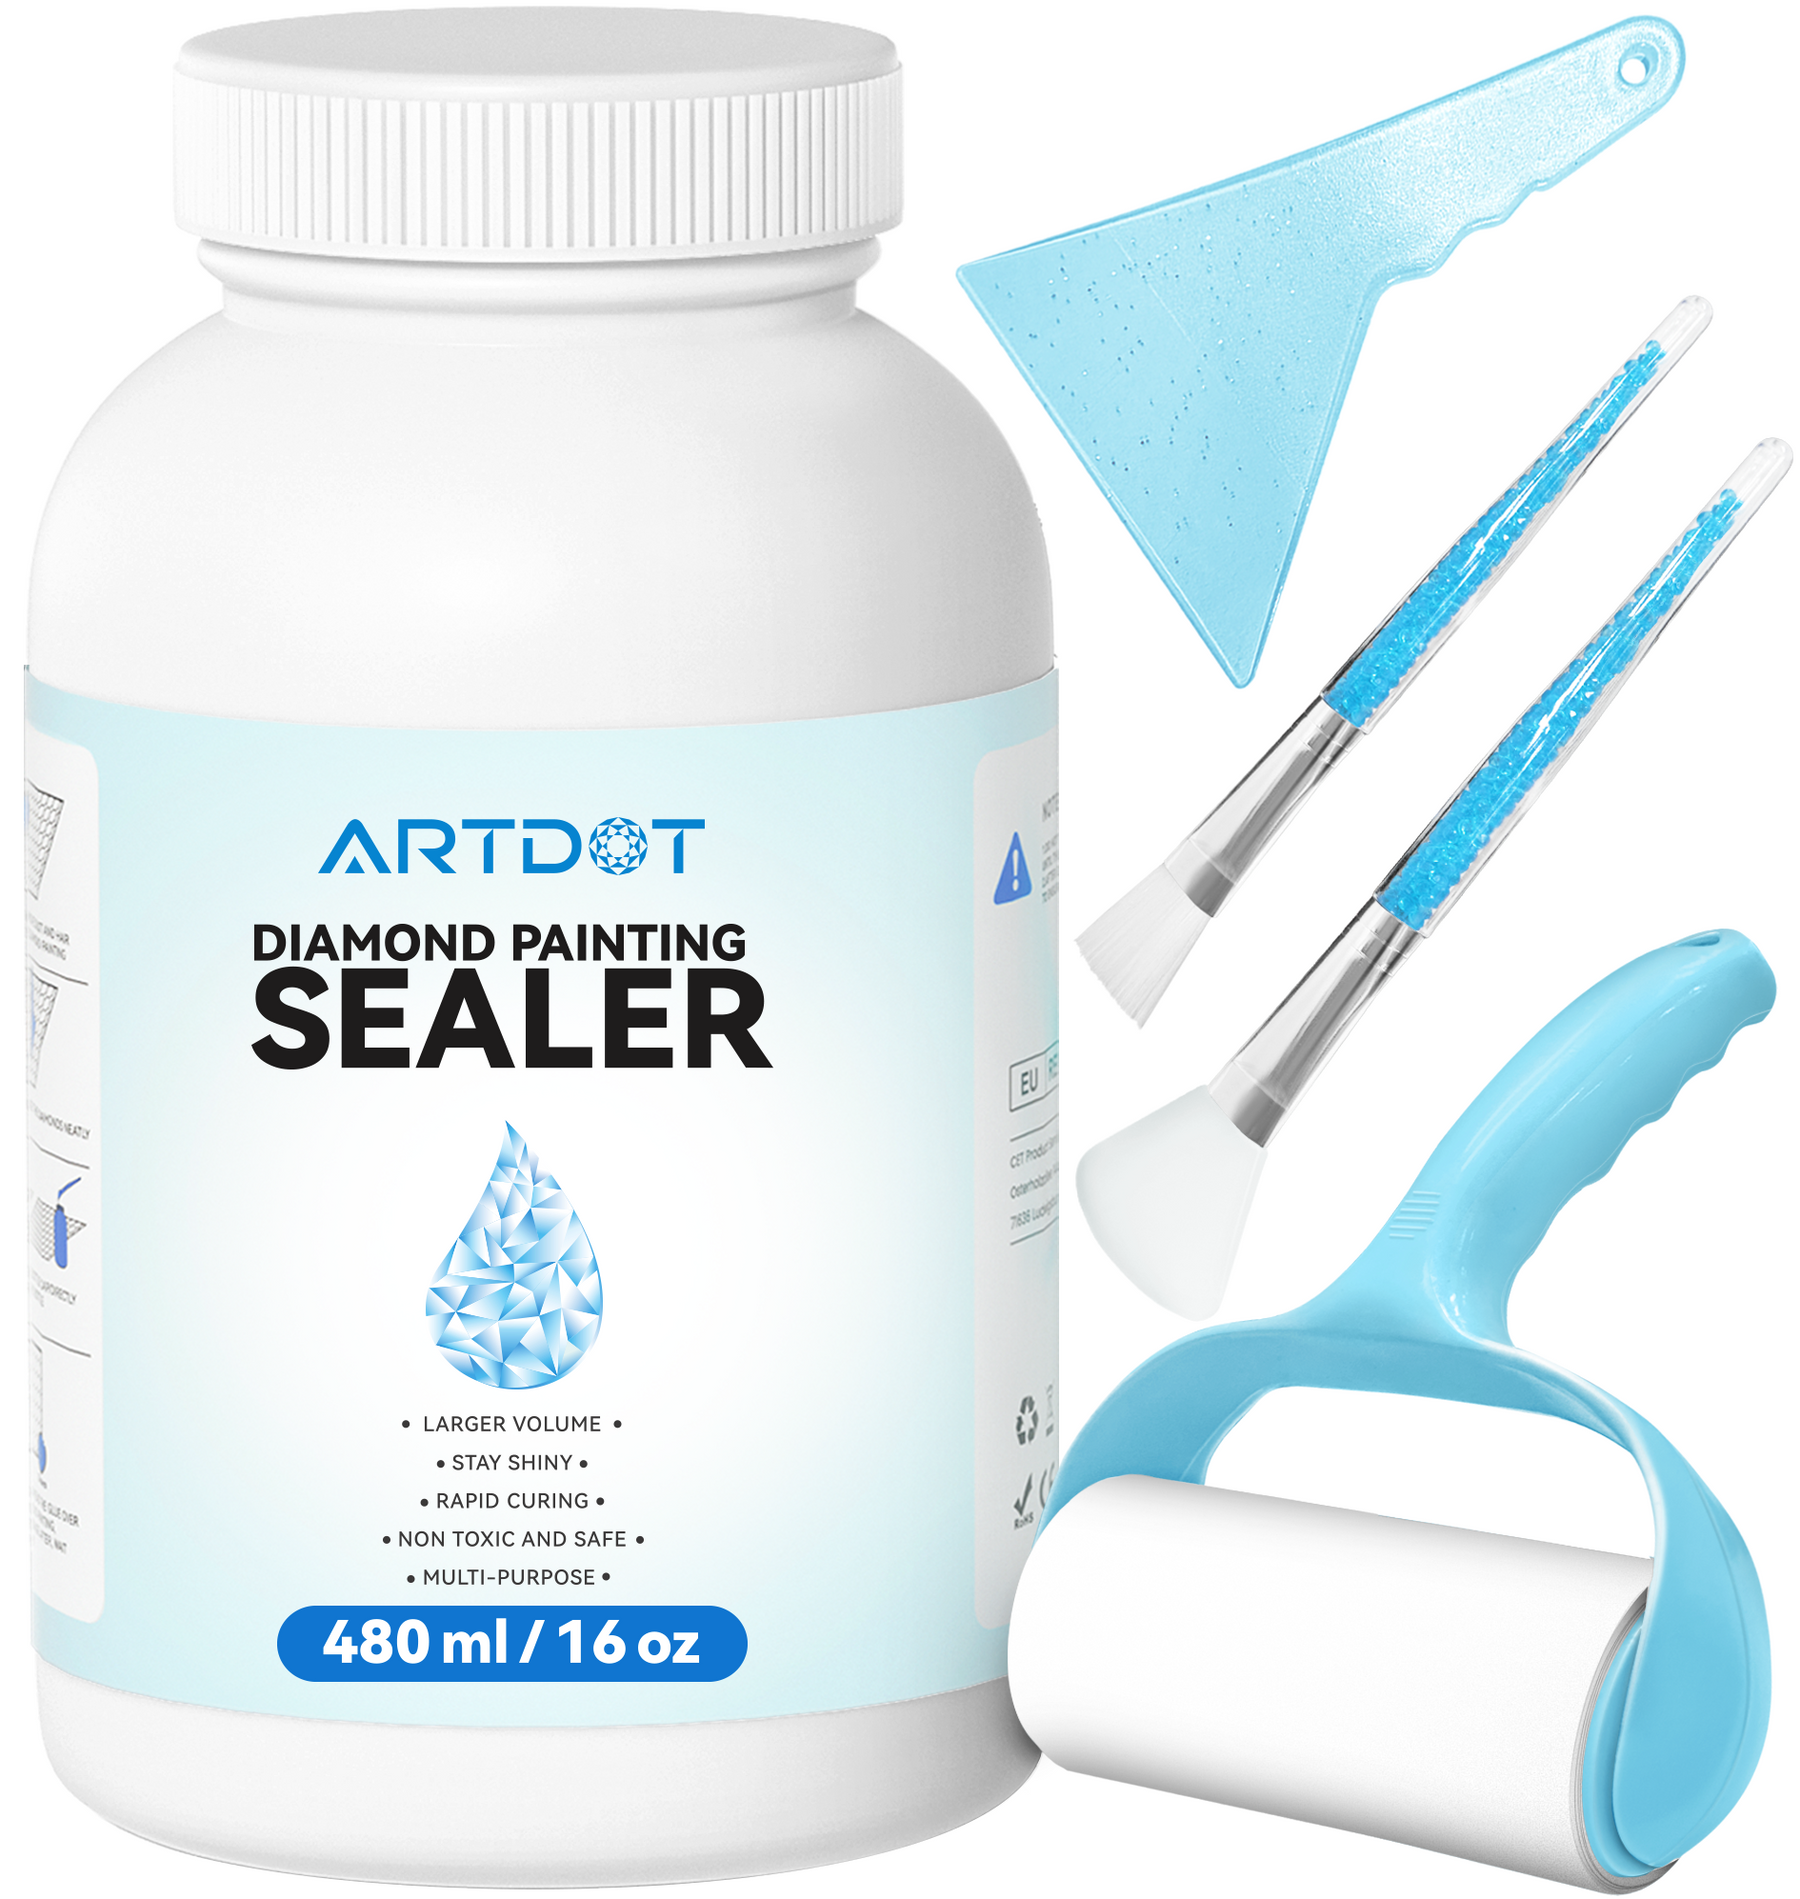
Sealant Spray: Consider using a sealant spray after completing your diamond painting to secure the drills in place.
- Challenge2: Drills Getting Stuck
If you're experiencing difficulty picking up drills, consider these solutions:
Wax Application: Ensure you have enough wax on the applicator to create a sticky surface for easy drill pickup.
Clean Applicator: Clean the applicator regularly to remove any excess wax or debris that may hinder drill pickup.
- Challenge 3: Difficulty Placing Smaller Drills
Placing smaller drills can be challenging, but these tips can help:
Use Tweezers: Try using tweezers instead of the applicator for better control when handling smaller drills.
Magnification: Utilize a magnifying glass or Artdot Hands free magnifying glasses to enhance visibility when working with tiny details.
- Challenge4: Uneven or Crooked Rows
To achieve even and aligned rows of drills, consider the following:
Start from the Center: Begin diamond painting from the center of the canvas to maintain symmetry and balance.
Check Alignment: Regularly step back and assess the alignment of your rows to ensure they remain straight and even.
Straightening Tool: Use a straightening tool, like a credit card or ruler, to gently align and flatten any crooked rows.
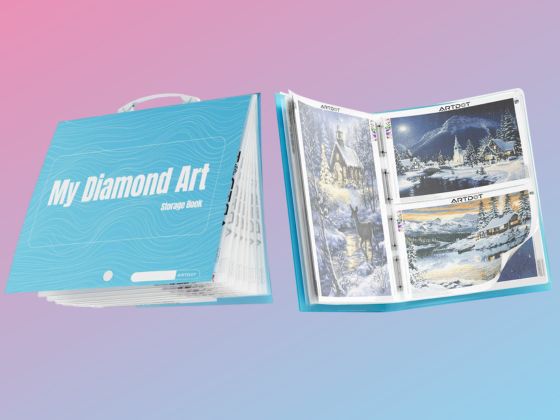
Remember, practice makes perfect, and as you gain more experience, you'll become more adept at overcoming these challenges. Don't get discouraged and enjoy the process of learning and improving your diamond painting skills. Once your diamond painting is complete, the journey doesn't end there, whether you choose to frame it, mount it on canvas, or display it on an easel, find a way to highlight the beauty of your creation and make it a centerpiece in your living space.
Diamond painting is not just about the final result—it's about the therapeutic and fulfilling experience along the way. As you continue to explore new designs and techniques, your skills will grow, and your artwork will become even more stunning.
So, let your creativity shine and immerse yourself in the world of diamond painting. Unleash your artistic spirit, find moments of tranquility, and create dazzling artworks that bring joy to yourself and those around you.


4 comments
Stacie
Does the pointy side face upwards or into the canvas??? Ordered way too many of something I have no clue how to do…
Does the pointy side face upwards or into the canvas??? Ordered way too many of something I have no clue how to do…
Nancy Hughes
This is my first time doing one of these.. do I get the canvas framed first or after applying all the beads??
This is my first time doing one of these.. do I get the canvas framed first or after applying all the beads??
Chris underberg
How do you use the wax
Any input would be great thanks
How do you use the wax
Any input would be great thanks
Felishia Long
This is really extremely helpful. Thank u so much for taking the time to explain everything in a way that’s easy for even me to understand. I bought some diamond paintings to do and I got some weird looking tools. I just put everything away as soon as I went through everything. I felt overwhelmed. Everything looked so weird and I wasn’t given any instructions as to what the strange looking stuff was for and how to use them.
Again, thank you!