En los últimos años, una forma de arte cautivadora ha conquistado a las comunidades artísticas y artesanales, hermosas entusiastas con su fascinante brillo y beneficios terapéuticos. Kit de pintura de diamantes se originó a partir de la artesanía de mosaicos y ha evolucionado hasta convertirse en una actividad artística moderna. Se trata de colocar pequeños "diamantes" de resina sobre un lienzo adhesivo, creando una imagen brillante.
Los movimientos repetitivos, el suave clic cuando los diamantes encuentran su lugar y la aparición gradual de una imagen vibrante contribuyen a un estado mental meditativo. Entonces, ya sea que esté buscando una salida creativa, relajación o una forma de adornar su espacio vital con obras de arte deslumbrantes, la pintura con diamantes ofrece una experiencia artística visualmente impresionante y emocionalmente satisfactoria.
Sigue las Instrucciones de pintura con diamantes y descubre la alegría y la tranquilidad de pintar con diamantes mientras te guiamos a través de este completo viaje de dominio.
Instrucción detallada de pintura con diamantes
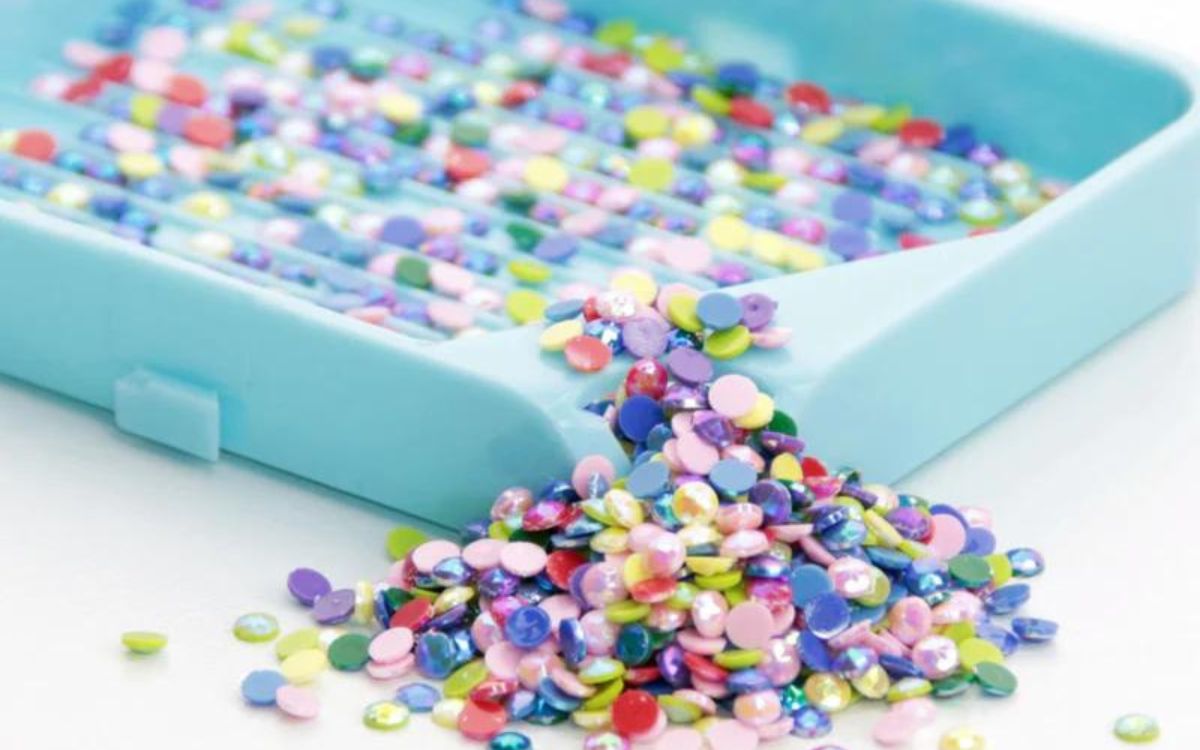
Necesitará conocer las instrucciones y los materiales de pintura con diamantes, cuáles son y cómo usarlos cuando comience a pintar con diamantes. Generalmente los kits de pintura con diamantes incluyen: Lienzos, Taladros (Diamantes), Diamante Aurora Boreal, Aplicadores, Bandejas, Cera.
Lienzos: Sirven como base para tu obra de arte, presentando un diseño impreso con adhesivo.

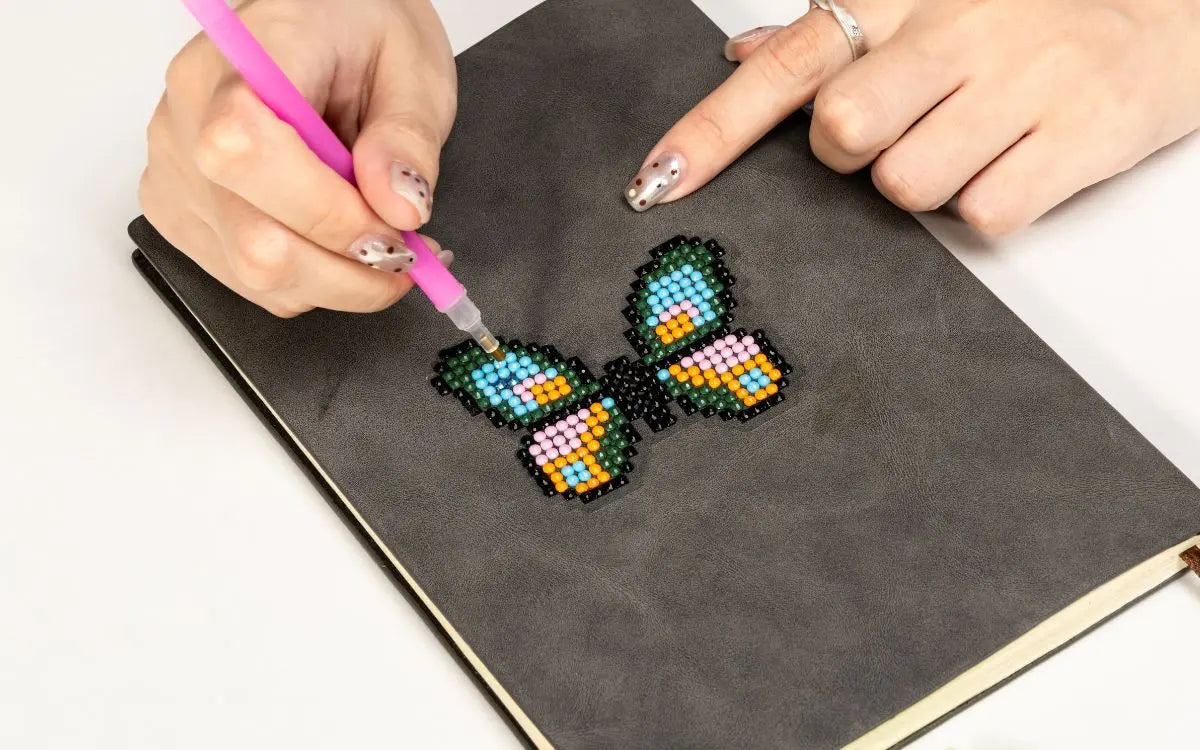
Aplicadores: estas herramientas, a menudo en forma de bolígrafos o stylus, ayudan a recoger y colocar las brocas en el lienzo.
 Comprender los conceptos básicos de la instrucción de pintura con diamantes y los materiales involucrados sienta las bases para crear obras de arte deslumbrantes. Profundicemos en las técnicas y consejos que te ayudarán a dominar esta forma de arte en las siguientes secciones.
Preparativos antes de empezar a pintar diamantes
Un espacio de trabajo bien preparado garantiza comodidad, eficiencia y precisión durante el proceso de pintura con diamantes. Le permite concentrarse en los detalles intrincados y disfrutar de la artesanía sin distracciones innecesarias.
A continuación se ofrecen algunos consejos:
Limpieza: despeje el espacio de trabajo de cualquier desorden o suciedad para proporcionar un amplio espacio para su lienzo y sus suministros.
Iluminación: opte por luz blanca natural o brillante para ver con precisión los colores y detalles del lienzo y los taladros. Si su espacio de trabajo no es brillante, podría considerar usar una plataforma de luz para ayudarlo. Si necesita una almohadilla de luz, lea La mejor almohadilla de luz para pintar diamantes.
Organización y distribución de suministros:
Organizar sus suministros de pintura de diamantes de manera ordenada mejorará su eficiencia. Si desea obtener más instrucciones para pintar diamantes y contenedores de almacenamiento para mantener sus gemas seguras y organizadas, considere lo siguiente:
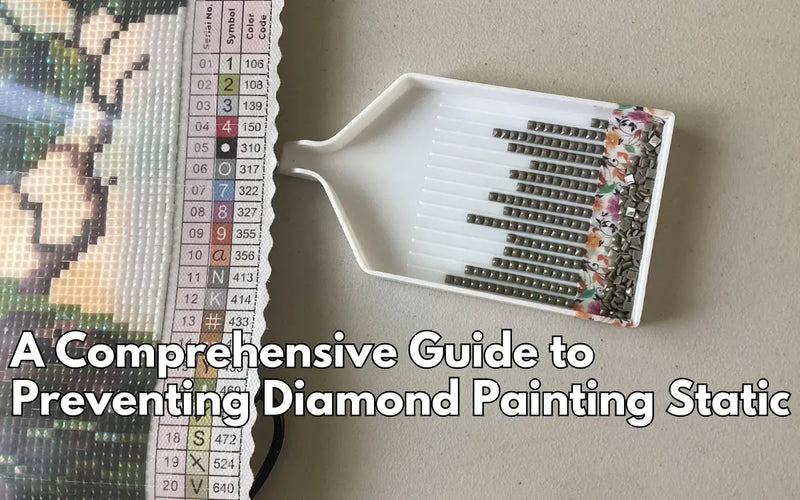
Clasifica los taladros: Utiliza las bandejas proporcionadas o contenedores separados para organizar los taladros por color. Esto hace que sea más fácil localizar los colores específicos necesarios para cada sección del lienzo.
Etiquete los contenedores: Si usa contenedores separados, etiquételos con los códigos de color correspondientes para evitar confusiones y ahorrar tiempo.
Disponga otras herramientas: mantenga el aplicador, la cera y cualquier herramienta adicional a su alcance para acceder rápidamente durante el proceso de pintura.
Al preparar un espacio de trabajo bien organizado y adecuadamente iluminado, se preparará para un viaje de pintura con diamantes fluido y agradable. Ahora que tu espacio de trabajo está listo, profundicemos en las técnicas y habilidades que te ayudarán a dominar el arte de la pintura con diamantes en las próximas secciones.
Pasos sobre cómo hacer arte con diamantes


Con estos sencillos pasos, podrás crear pinturas de diamantes con precisión y un acabado pulido.
Situaciones encontradas al pintar con diamantes
Como principiante en la pintura con diamantes, es posible que encuentres algunos desafíos comunes en el camino. Aquí encontrarás soluciones y consejos para superarlos:
- Desafío 1: Taladros saliendo
Si notas que se desprenden taladros del lienzo, prueba las siguientes soluciones:
Presione firmemente: asegúrese de presionar las brocas firmemente sobre el lienzo adhesivo para crear una unión segura.
Reaplicación de cera: Si las fresas no se pegan bien, vuelva a aplicar cera al aplicador para una mejor adherencia.
Aerosol sellador: considere usar un aerosol sellador después de completar la pintura con diamantes para asegurar las brocas en su lugar.
- Desafío 2: Los taladros se atascan
Si tienes dificultades para coger los taladros, considera estas soluciones:
Aplicación de cera: asegúrese de tener suficiente cera en el aplicador para crear una superficie pegajosa que permita recoger fácilmente el taladro.
Limpie el aplicador: limpie el aplicador con regularidad para eliminar el exceso de cera o residuos que puedan dificultar la recogida del taladro.
- Desafío 3: Dificultad para colocar taladros más pequeños
Colocar taladros más pequeños puede ser un desafío, pero estos consejos pueden ayudar:
Utilice pinzas: Intente utilizar pinzas en lugar del aplicador para obtener un mejor control al manipular taladros más pequeños.
Aumento: Utilice una lupa o Lupas manos libres Artdot para mejorar la visibilidad cuando se trabaja con pequeños detalles.
- Desafío 4: Remos desiguales o torcidos
Para lograr filas de taladros uniformes y alineadas, considere lo siguiente:
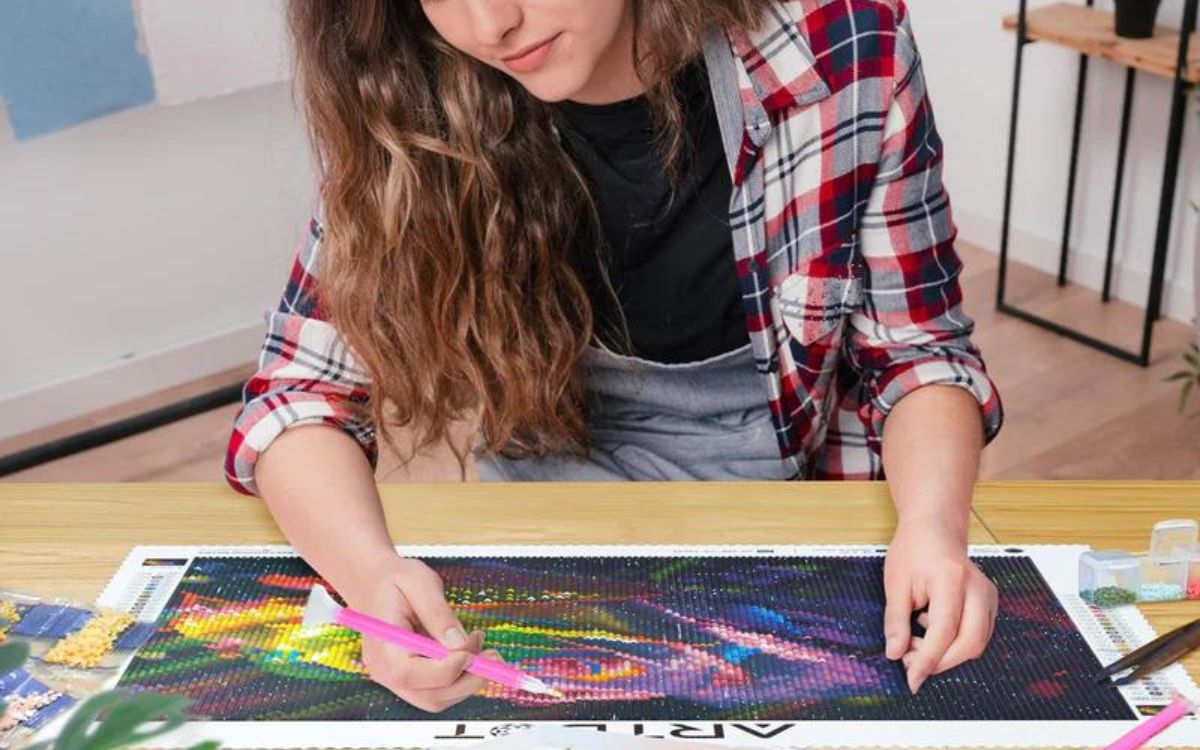
Comience desde el centro: comience a pintar con diamantes desde el centro del lienzo para mantener la simetría y el equilibrio.
Compruebe la alineación: retroceda periódicamente y evalúe la alineación de las filas para asegurarse de que permanezcan rectas y uniformes.
Herramienta para enderezar: use una herramienta para enderezar, como una tarjeta de crédito o una regla, para alinear y aplanar suavemente las filas torcidas.
Recuerde, la práctica hace la perfección y, a medida que adquiera más experiencia, se volverá más experto en superar estos desafíos. No se desanime y disfrute del proceso de aprender y mejorar sus habilidades para pintar con diamantes. Una vez que tu pintura de diamantes esté completa, el viaje no termina ahí, ya sea que elijas enmarcarla, montarla en un lienzo o exhibirla en un caballete, encuentra una manera de resaltar la belleza de tu creación y convertirla en una pieza central en tu espacio vital.
La pintura con diamantes no se trata solo del resultado final, sino de la experiencia terapéutica y satisfactoria a lo largo del camino. A medida que continúe explorando nuevos diseños y técnicas, sus habilidades crecerán y su obra de arte se volverá aún más impresionante.
Entonces, deje que su creatividad brille y sumérjase en el mundo de la pintura con diamantes. Libera tu espíritu artístico, encuentra momentos de tranquilidad y crea obras de arte deslumbrantes que te traigan alegría a ti y a quienes te rodean.